
First, power it on or open up the camera app. Then point at your subject. Click. Done.
Of course it’s not that simple or we’d all be professionals.
For real, first this time…
LIGHTING
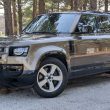
Unless your name is Andrew Fails, don’t take photos where the primary light source is in front of your lens. For example, the sun setting on the opposite side of the car as your camera.
While it may look neat from where you stand, capturing such a moment takes a lot of luck and/or experience. Roll the dice, there. Unless you’ve mastered the art of photography, most cameras will severely under-expose (make that shit way too dark) the photo to the point where it may become unusable. The other reason to avoid bright sunlight, such as high noon, is that the harsh shadows and high levels of contrast created.
Shooting at times of the day when the sun isn’t directly overheard and either behind or beside you, is preferred by many photographers. If you can wait for a cloud to block out a bit of the sun, even better as clouds diffuse the sunlight naturally, softening the shadows.
EXTERIOR ANGLES
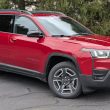
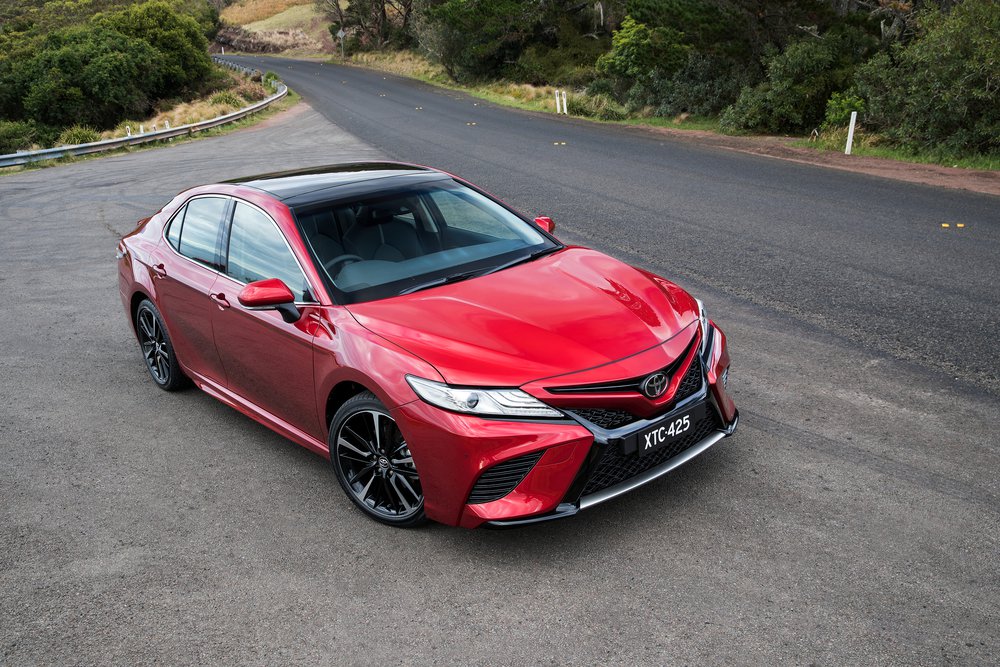
Take lots of photos. All angles high and low but don’t put too much angle on your camera. Keep your shots fairly level to the ground. But do get high and low. Get plenty of shots with the complete car in the view and ample of padding. Think the 2/3rds rule where the vehicle should take up roughly 2/3rds of the photo. Less is fine but in general 1/2 to 2/3rd is good. Too little of the car in the shot may distract the viewer.
Exterior high angle example:
INTERIOR ANGLES
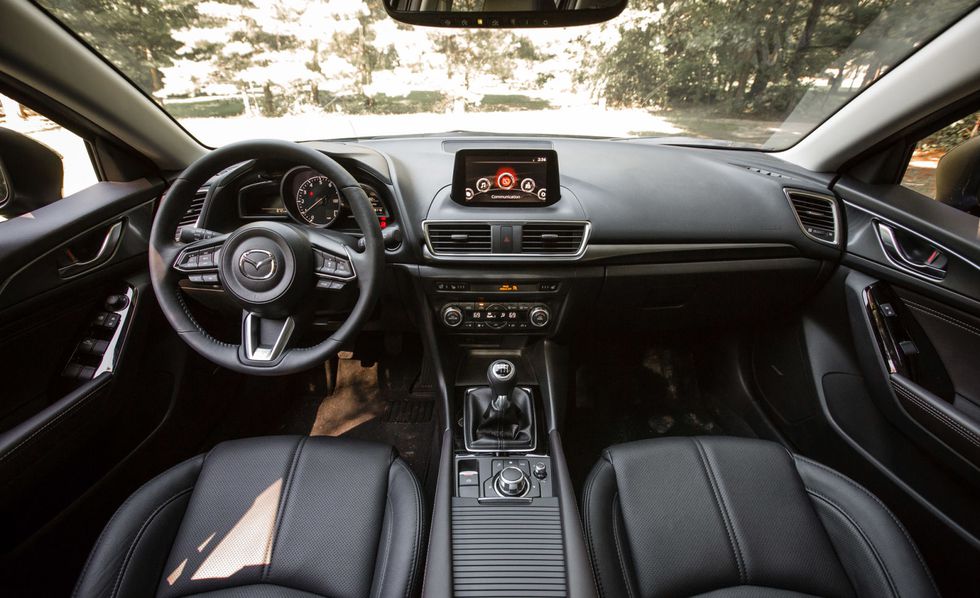
I’ll admit that taking interior shots of a car can be a nightmare. We want to show off the interior details such as trim, materials, and buttons. Close up and macro shots can be good for those but we also want to let the reader see what the complete interior. We want to show the reader what its like to open the door before taking a seat.
What I’ve found works is to open the doors, roll down the windows, open the sunroof and get as much light in as possible. Then, stick your camera through that open window of an open door. A wide angle lens works best here.
For the driver’s compartment, position the seat as rearward as possible and tilt the seat back, remove the headrest if possible. Then, go in the back seats and shoot through or where the headrest would be. Center your camera between the seats for a full dash view.
The interior can be dark making a black interior that much more difficult to capture. If you’re on your phone, tap the screen in a darker portion of the image to expose for that spot. If it over exposes (brightens) the image too much, use your finger to drag up or down the exposure until it look proper. And don’t take just one shot. Take a number because chances are the one that’s exposed properly may not have been held still and has blur. It’s better to take a lot and delete those that suck than to only take a few and not have anything usable.
Front Compartment Example:
Rear Seat Example:

UNDER THE HOOD
All too often we forget to pop the hood and grab shots of the power plant. No need for a million shots here, but do get a solid half dozen on your way from driver side to passenger side.[/vc_column_text][/vc_column][/vc_row][vc_row][vc_column][/vc_column][/vc_row]