


Getting a great deal is one thing. Getting a deal on a component good enough to warrant installing on your car is another. Kevin is particular with his Fiesta ST, focusing on bang for the buck and reliability over horsepower. MeisterR is a fairly new name in the North American market and has positioned themselves to compete with the likes of BC Racing.
MeisterR ZetaCRD Specifications
*Aluminium Front Top Mount with Spherical Bearing and Camber Adjustment.
*Aluminium Rear Top Mount with harden rubber bush (OEM inboard springs design).
*Monotube damper with 32 stage damping adjustment (Compression and Rebound Combined)
*10% thicker damper rod diameter for increase strength (compare to previous generation)
*Linear Rate SAE9254 Chrome Silicon Steel Springs.
*Springs Coil Noise Insulator.
*Lengthen Heavy Duty Rubber boot.
*Unique UK Patent Pending Non-Slip Aluminium Spring Perch & Locking Collar.
*Dual Perch Coilovers Construction (Independent Springs Tension and Ride Height Setting)
Shock Test:
ZetaCRD+: Designed for fast road & track use, with focus on fast road use.
This is the most common setup for most UK owners, as this is design for road compound tyres and deal with uneven road surfaces comfortably.
Most regard this setup as compliant as OEM, but more responsive.
Springs rate:
Fiesta ST: Front 5kg/mm, Rear 3kg/mm
The Sniff Test
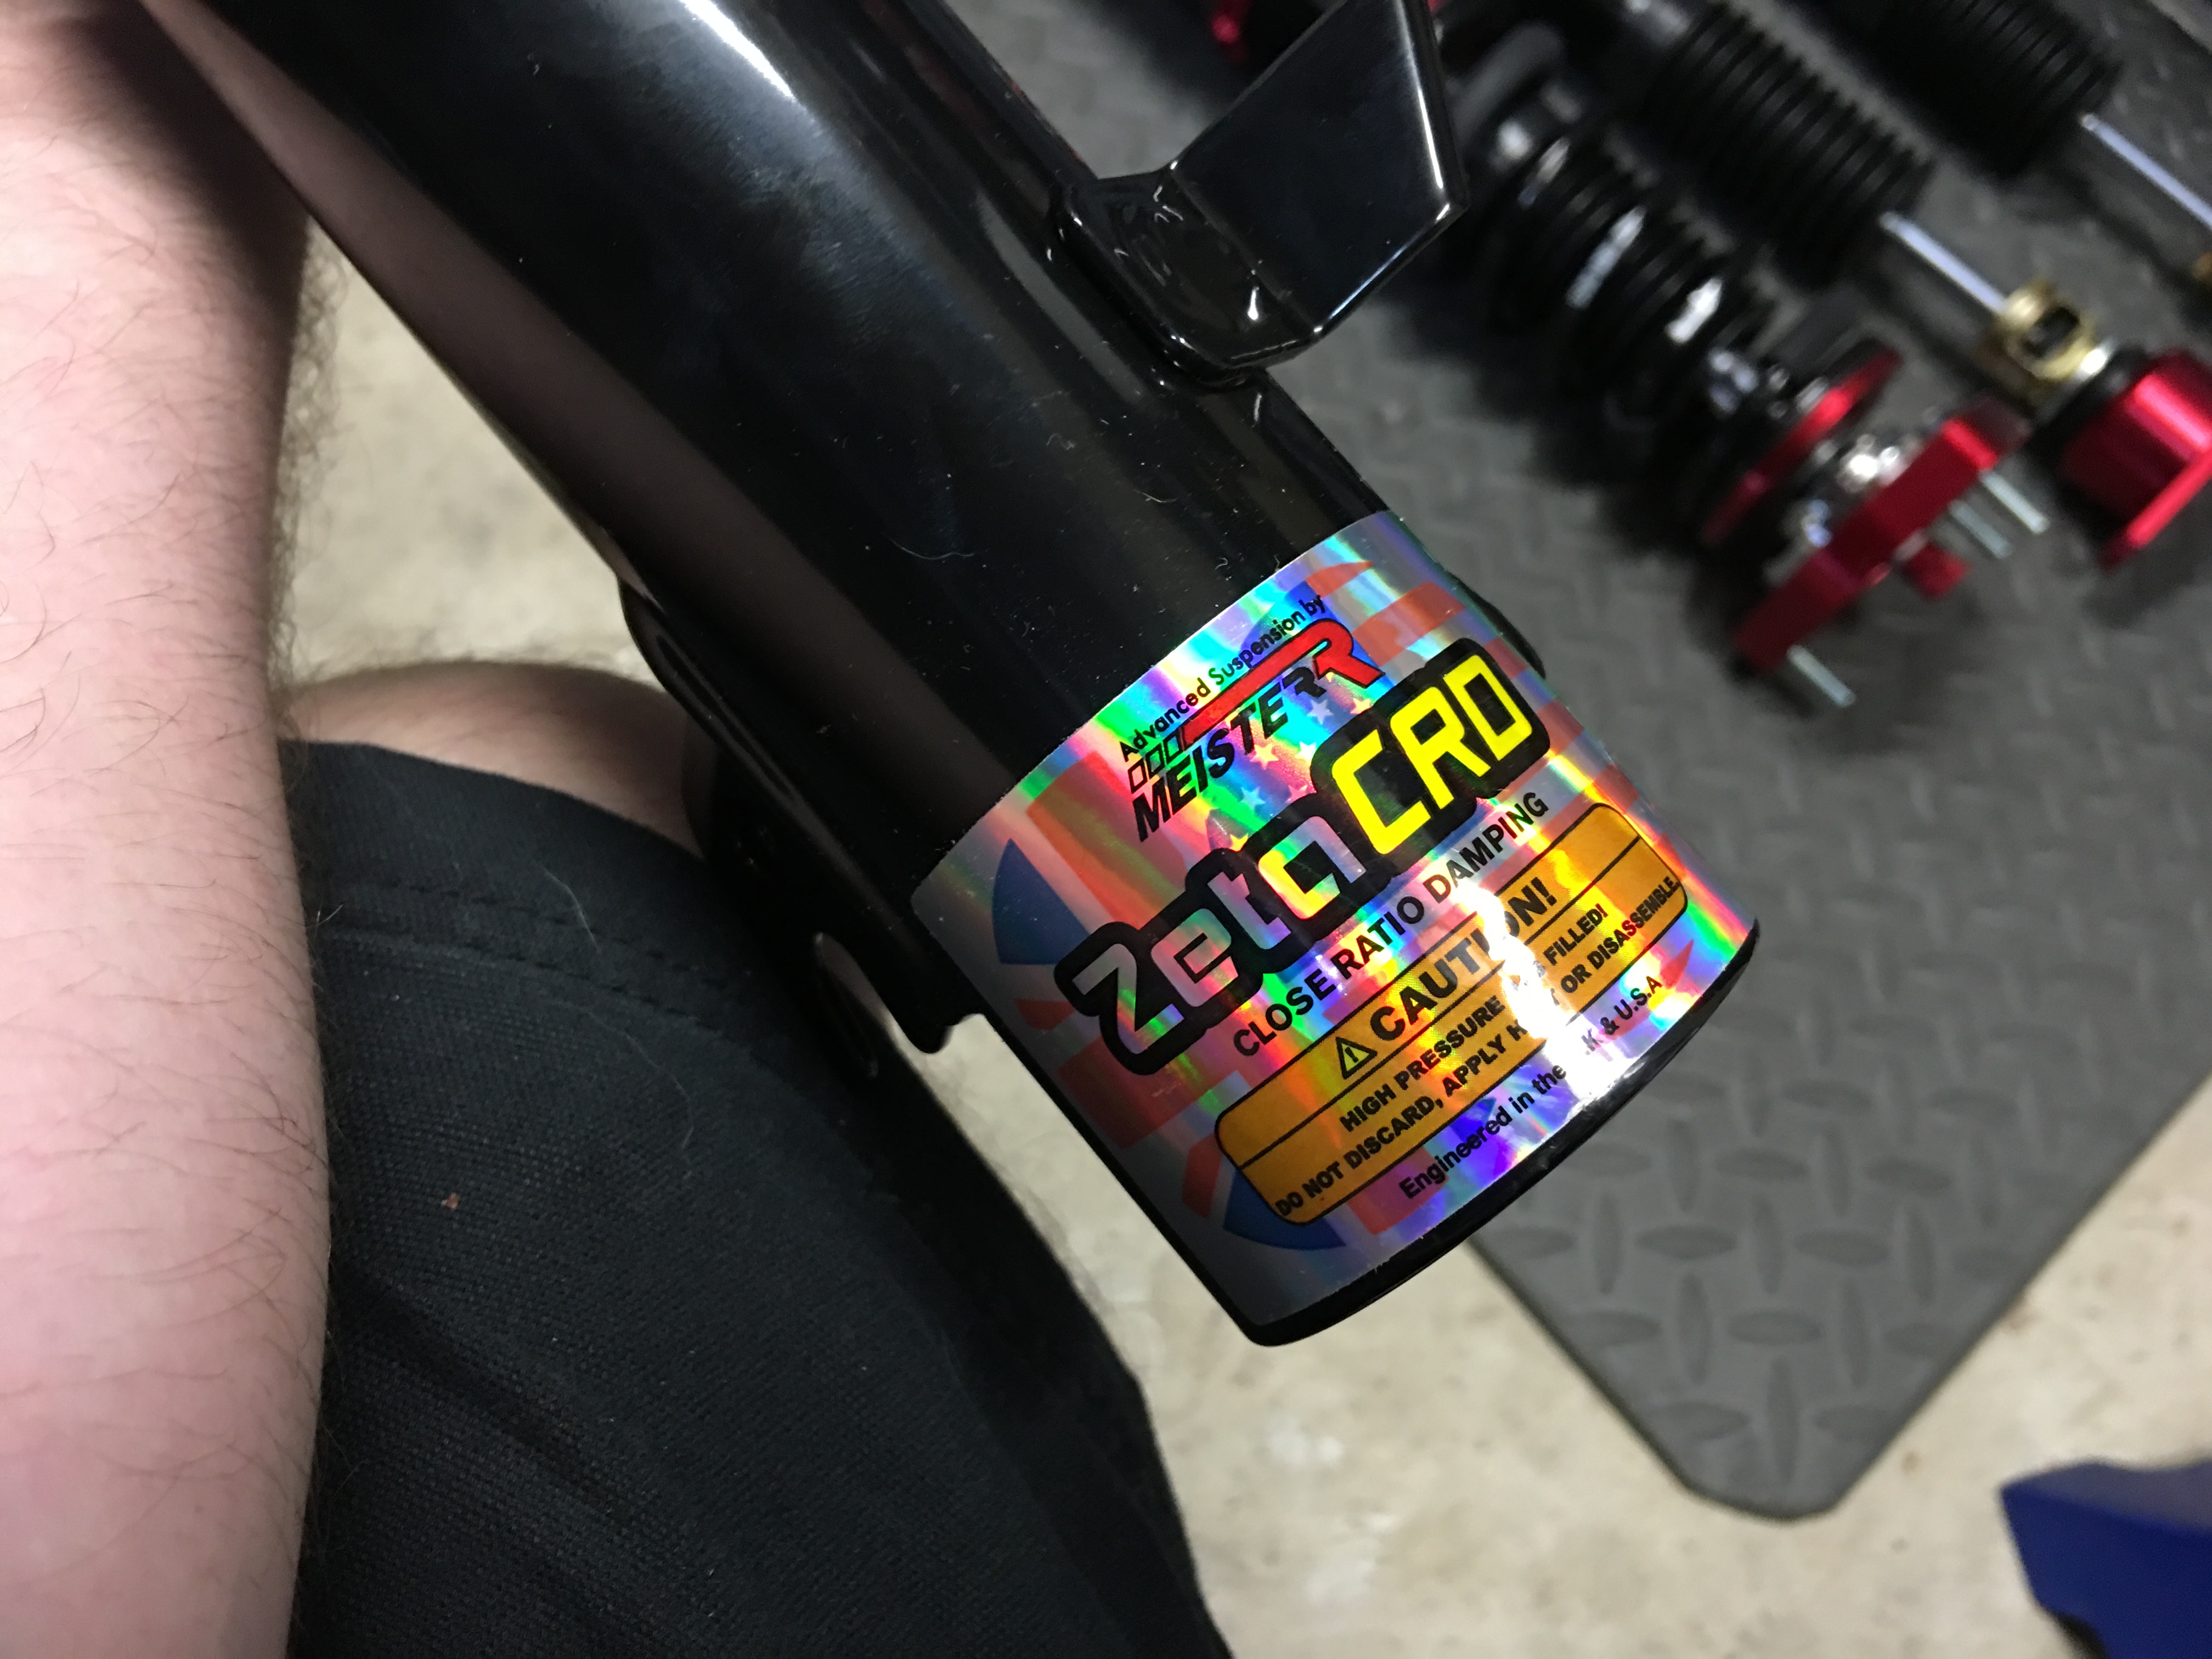
Unlike the aforementioned brand, MeisterR Zeta CRD’s include adjustable camber plates. Something not found on quality components in this price range, and at the time of this installation were the only coilovers available with them. Let’s take a closer look at the components.


All of the shocks are dialed in right out of the box. No need to play with the collars to adjust ride height or the rebound settings. Just install and go. But before we got our hands dirty we wanted to take the time to admire the parts.
First thing you notice when grabbing the front shock is the height adjustment sleeve and the beautiful anodized red collars and camber plates. The camber plates are what I’m most interested in. The camber position is locked down with four bolts but MeisterR has drilled 6 locations offering a wide range of camber adjustment.
Unfortunately, the Fiesta ST’s front towers have a tiny hole so adjusting camber after installation isn’t possible. That isn’t a super big deal though as removing the front suspension on the Fiesta ST takes just minutes. We decided to max out the camber using the four outer bolt locations. Not sure what to expect, we set the car down to eye-ball the results and I’d say we gain well over a degree of negative camber!


Looking at the rear pieces, it’s clear to see that the shock body is shorter. The anodized red aluminum top mounts are as nice to look at as they get and MeisterR positioned the rebound adjuster up top but it’s still low enough so that adjustments can be made while on the car.
Installation
The front installation was quite seriously a 15 minute job. There is plenty of space to work and the factory struts fall out after removing five bolts. You’ll want to be sure to dial in your camber plates pre-installation though as they can’t be adjusted afterward due to the small hole on the factory towers.
As for the rear installation, well, this is about as simple as it gets! You’ll find a separate spring and shock. Drop the I-Beam and the factory spring falls out on it’s own. Then, three bolts later the shock drops. You can watch clips from our install below.
Final Thoughts
The initial thought is that the drop in ride height looks fantastic. It sits just high enough for street use and low enough to be unmistakably modified. And if you don’t like the ride height, change it!
The first two comments Kevin made after going for a drive was how the steering now felt “super light” and that the ride quality had improved over stock in terms of comfort. The settings were unadjusted, so however MeisterR set them is how they remain. Ride quality is always a concern of mine when changing springs and dampers so this is very good news. As for the steering being lighter, maybe that is a result of the additional camber? Not sure, honestly.
After a few days of driving we can see where we want to tweak the suspension. Keep in mind that our Fiesta ST has a heavy skid plate, big oil cooler and larger radiator installed which adds a few more pounds to the nose of the car. With the factory settings, big dips cause the car to bounce a little so rebound could be dialed down.
Getting into the twisty stuff, there is very little body roll and perhaps the stickier tires have more to do with it than the suspension, but there is now much better traction accelerating out of slower speed corners.
Overall, we’re super happy with the MeisterR ZetaCRD coilovers and can’t wait to get out to the track!
Bonus Photos


Hi, RFD – could you tell me, was it possible to set the ZetaCRDs so that the ride height was the same as stock? Could they be adjusted that high, or was lowering ‘mandatory’?